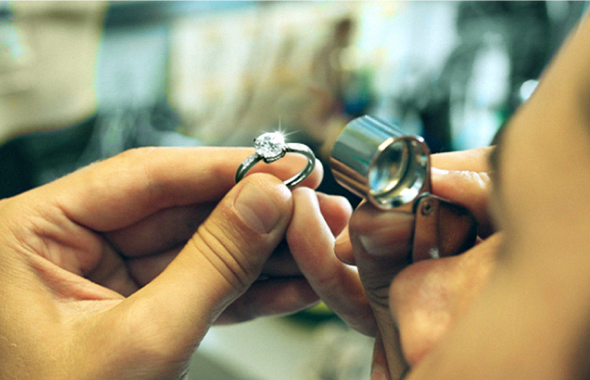
Process of Making Jewellery
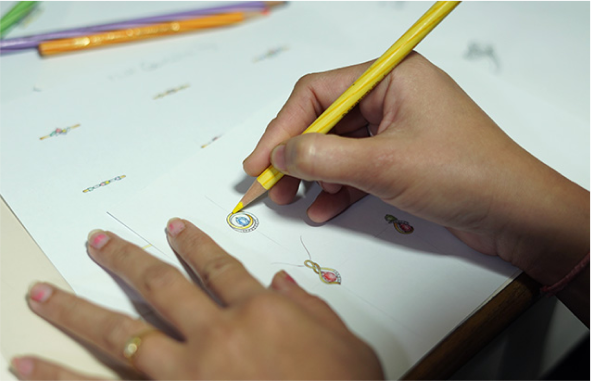
1. Designing
Creating a design is the first step where an idea is given shape. The piece is evaluated from all aspects – the metal, the stones, the setting, thus creating a template for the further processes. This can take up to a week, depending on the complexity of the piece and the ongoing projects.
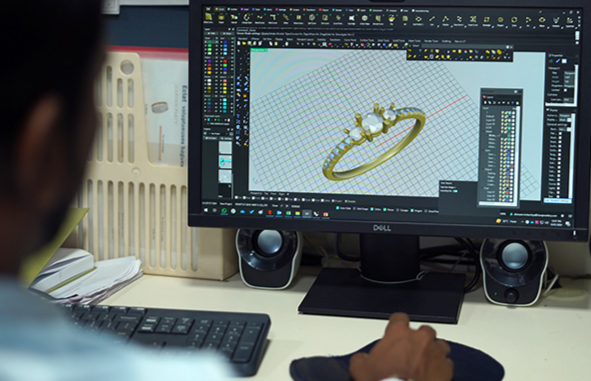
2. CAD/CAM
The next stage is CAD/CAM (Computer-Aided Designing/Computer-Aided Manufacturing) which uses 2D and 3D computer-aided software to create a dimensionally accurate digital version of the design. CAD helps to converts a concept on paper in the design stage to a workable model on the computer. CAM takes it to the next step – it automates the machining and manufacturing process.
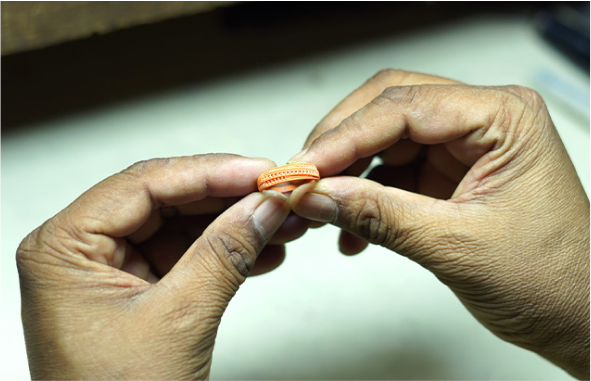
3. Model Making
In this step, the output from the CAM is converted to a silver model through the process of casting. Here, you could see your jewellery before it goes into production. But keep in mind that the 3D model is only for functionality, and is not aesthetically accurate.
4. Rubber Mold
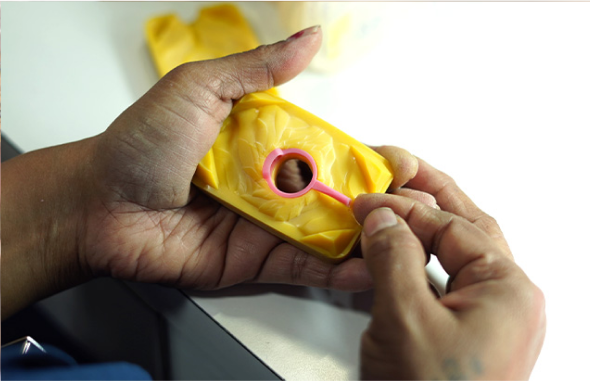
The fourth stage is the rubber mould, an integral step in the production process. It helps to create multiple pieces of the same design. Here, the jeweller refines the main structure of your piece, making fine aesthetic as well as functional adjustments. From here onwards, your jewellery can take anywhere between 3 days to 3 weeks.
5. Wax Tree
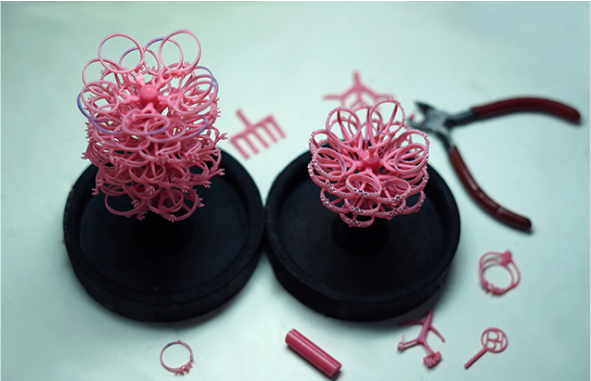
This stage involves the production of wax pieces, which are produced from rubber moulds made from the silver master in step 3. Wax models thus created are all arranged around a central stem in the form of a tree, with lighter items at the top and heavier ones at the bottom. These wax models are then used for casting.
6. Casting
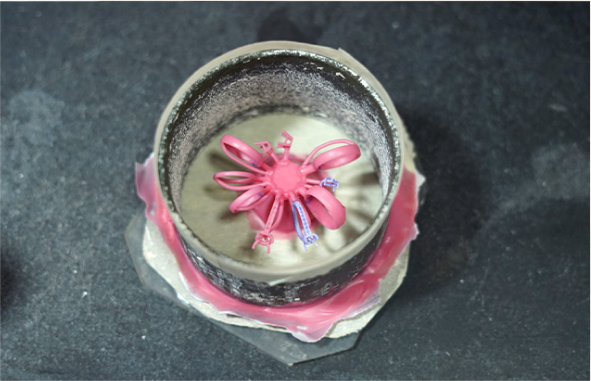
The next step in the jewellery manufacturing process is one of the most complex – casting. It calls for highly skilled and experienced casters. The entire process involves placing the wax tree in a steel flask and pouring a slurry of chemical powders, which takes close to an hour to solidify. Next, the flask is heated in an electric furnace, which causes the wax moulds to melt, leaving behind a cavity in the shape of the tree. Molten metal is then poured into the flasks and allowed to cool. After cooling, the solidified slurry is demolished, leaving behind the jewellery in the form of a cast.
7. Grinding
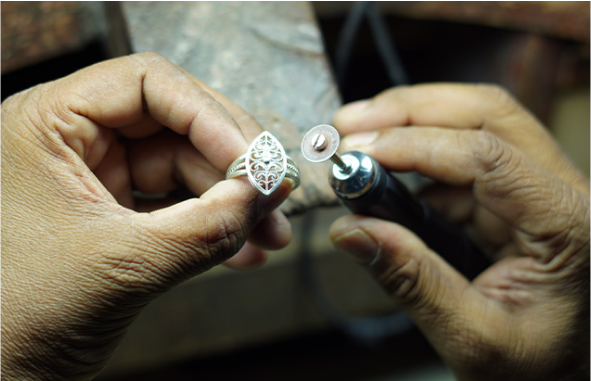
The raw casting from the previous step has metal jewellery pieces attached to the central stem. These are clipped off, leaving behind a nub. The grinding stage involves using a motorized grinding machine to grind off the nub and smoothen the surface of the jewellery piece by holding it against a spinning grinding wheel.
8. Filing & assembly
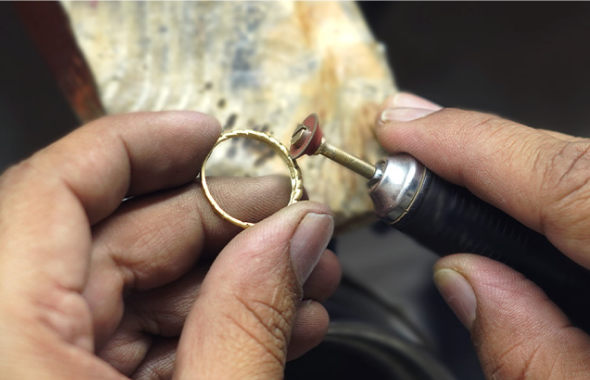
In the filing stage, the excess metal and casting layer is removed from the piece using a variety of tools. Next, assembly is carried out where two or more components are joined using soldering or laser techniques. Finally, pre-polishing is carried out which gives the piece a neat, clean and clear look, and prepares it for the next steps.
9. Gemstone Setting
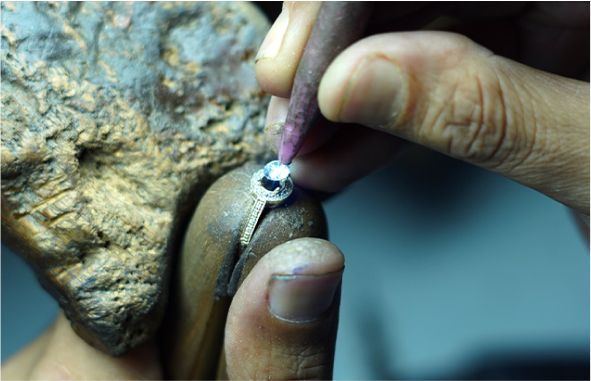
This is where the gemstones are set or attached to the jewellery piece. These settings can vary to create different designs, and can also be used in combinations. A few metal setting examples are prong, plate prong, bezel, pave, bead, pressure, flush, invisible, and so on.
10. Polishing
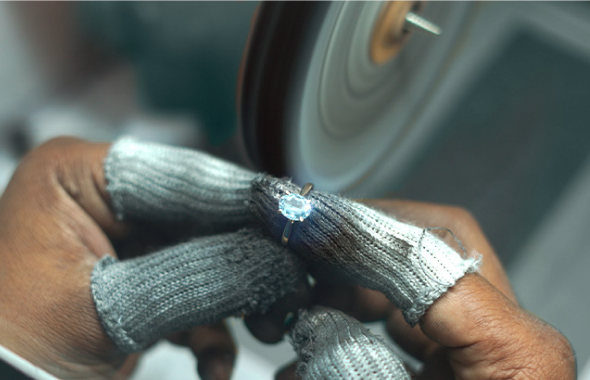
Here, the final polishing of the jewellery takes place. It is carried out after the stones are set in place, and is done either manually or by machine. Craftsmen use many tools to polish jewellery, such as soft buff, hair buff, single line ball buff, platinum polishing, black or white lustre, and so on, each with a different objective and result.
11. Rhodium Plating
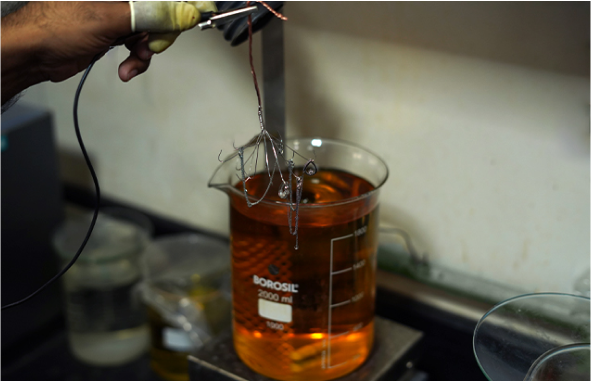
In this stage, the jewellery pieces are plated with rhodium, a sparkling white precious metal that protects the pieces from scratches and stains. On yellow gold, it creates visually appealing patterns, and makes white gold appear whiter.
12. Quality Check
The final stage in jewellery manufacturing – quality control. This where 3Soul’s quality guidelines and standards come together, to ensure that you get a piece of jewellery that adheres to our benchmarks, and is exactly as you wanted it. We use techniques of measurement, and visual and mechanical inspection.
